ShopDreamUp AI ArtDreamUp
Deviation Actions


Description
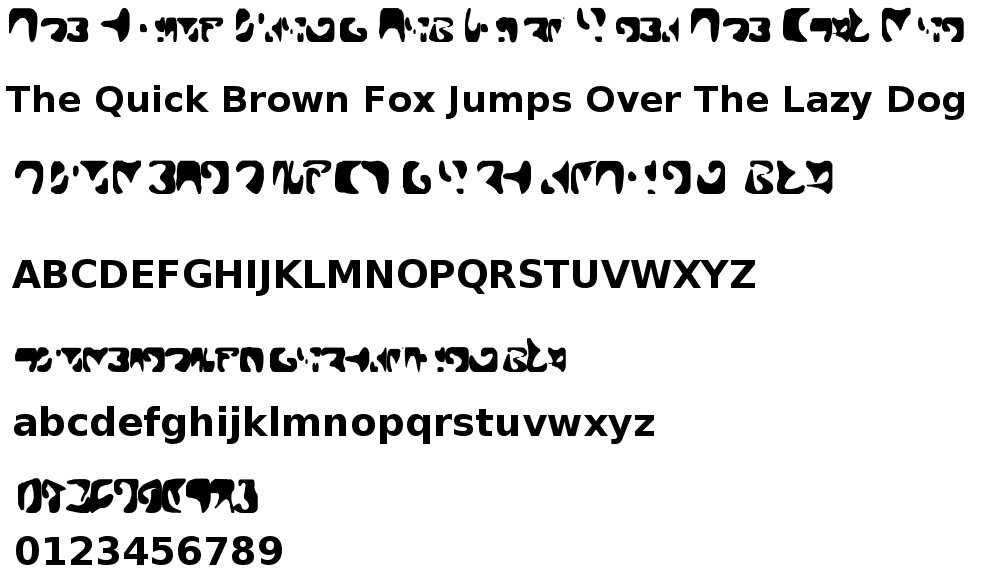
The Romulan language is much easier to transfer into a font, because there is a lot less guesswork involved since the Romulan alphabet includes characters for all English upper and lowercase letters and numbers. If you know how to speak Romulan (which I doubt many people do), but if you do, you can write a sentence or whatever you like in Romulan dialect with this, and it would make perfect sense to a romulan. If you were to write a sentence in English, a real romulan couldn't make heads or tails of it. This font was created in FontLogic 6. If there are any other Romulan fonts out there, I assure you they are not exactly like this, and there are none here on deviantart. I hope you enjoy!
Download instructions - Click the download file button.
Install instructions -
how to install fonts
Installation process under XP:
Close all applications.
Select font files and copy them into C:Windows/Fonts folder.
Alternative process for Windows XP:
Close all applications.
Go to > Start Menu > Control Panel (> Appearance and Themes) > Fonts.
From the > Fonts folder menu open > File > Install a new font…
Browse for your fonts and click > OK to install.
Installation process under Vista and 7:
Close all applications.
Right-click font files to be installed.
A menu will pop up, select > Install.
Alternative installation process under Vista and 7:
Close all applications.
Go to > Start Menu > Control Panel (> Appearance and Personalization) > Fonts.
Right-click into the list of fonts and select > Install a new font… from the menu.
Browse for your fonts and click > OK to install.
Windows 8:
From the Metro Interface, type the word fonts. You’ll get a few results under Settings – select Fonts. Now locate your font file. Drag the font file into the Fonts folder.
Ubuntu Linux:
Installation process to install for single user:
Close all applications.
Open > /home folder.
In the menu open > View and > Show Hidden Files.
You will now see the > .fonts folder. If not, create that folder.
Copy font files into the > .fonts folder.
Installation process to install for all users:
Close all applications.
Save fonts in a separate folder on > Desktop, e.g. > newfonts.
Open > terminal and start command > sudo cp -R ~/Desktop/newfonts /usr/share/fonts
Optional: rebuild font cache with command > sudo fc-cache -f -v
Mac OS X:
Close all applications.
Open folder that contains fonts to install.
Select fonts to be installed.
Drag and drop the selected font files into the > Library’s Font folder.
Installation process under Mac OS 10.3+ using FontBook:
Close all applications.
Open folder that contains fonts to install.
Double-click icon of font to be installed.
FontBook opens and you can preview the font.
To install only for you, click > Install Font button.
To install for all users, select > Preferences and change > Default Install Location from > User to > Computer, then click > Install Font button.
© 2013 - 2024 TheNinthWaveTNW
Comments0
Join the community to add your comment. Already a deviant? Log In